Adventure Race Navigation 101 + 201
A Beginners Guide to Map & Compass Skills
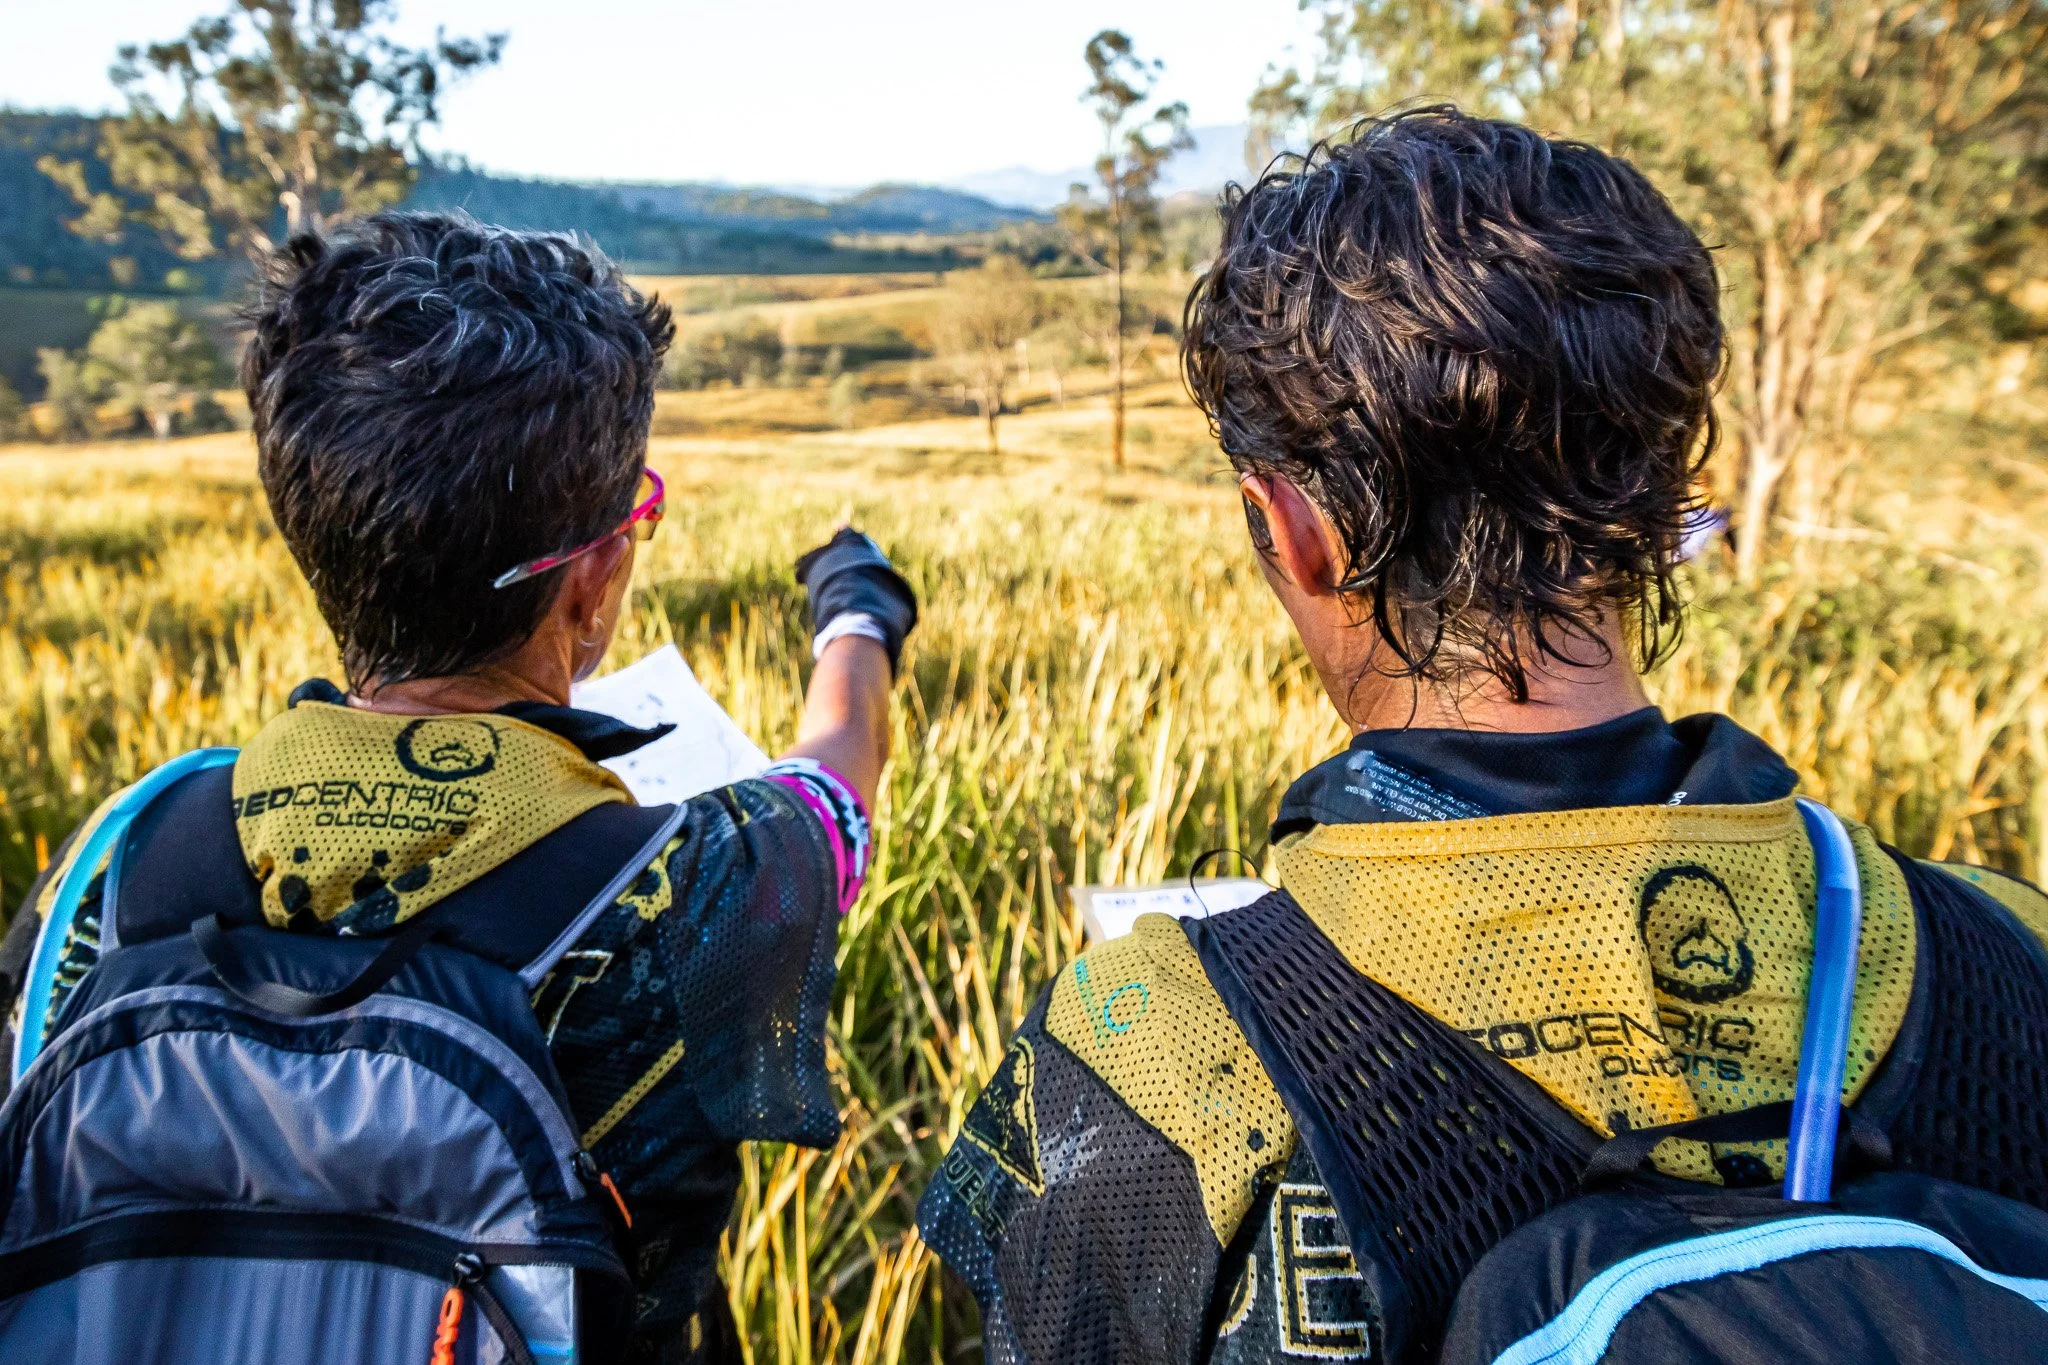
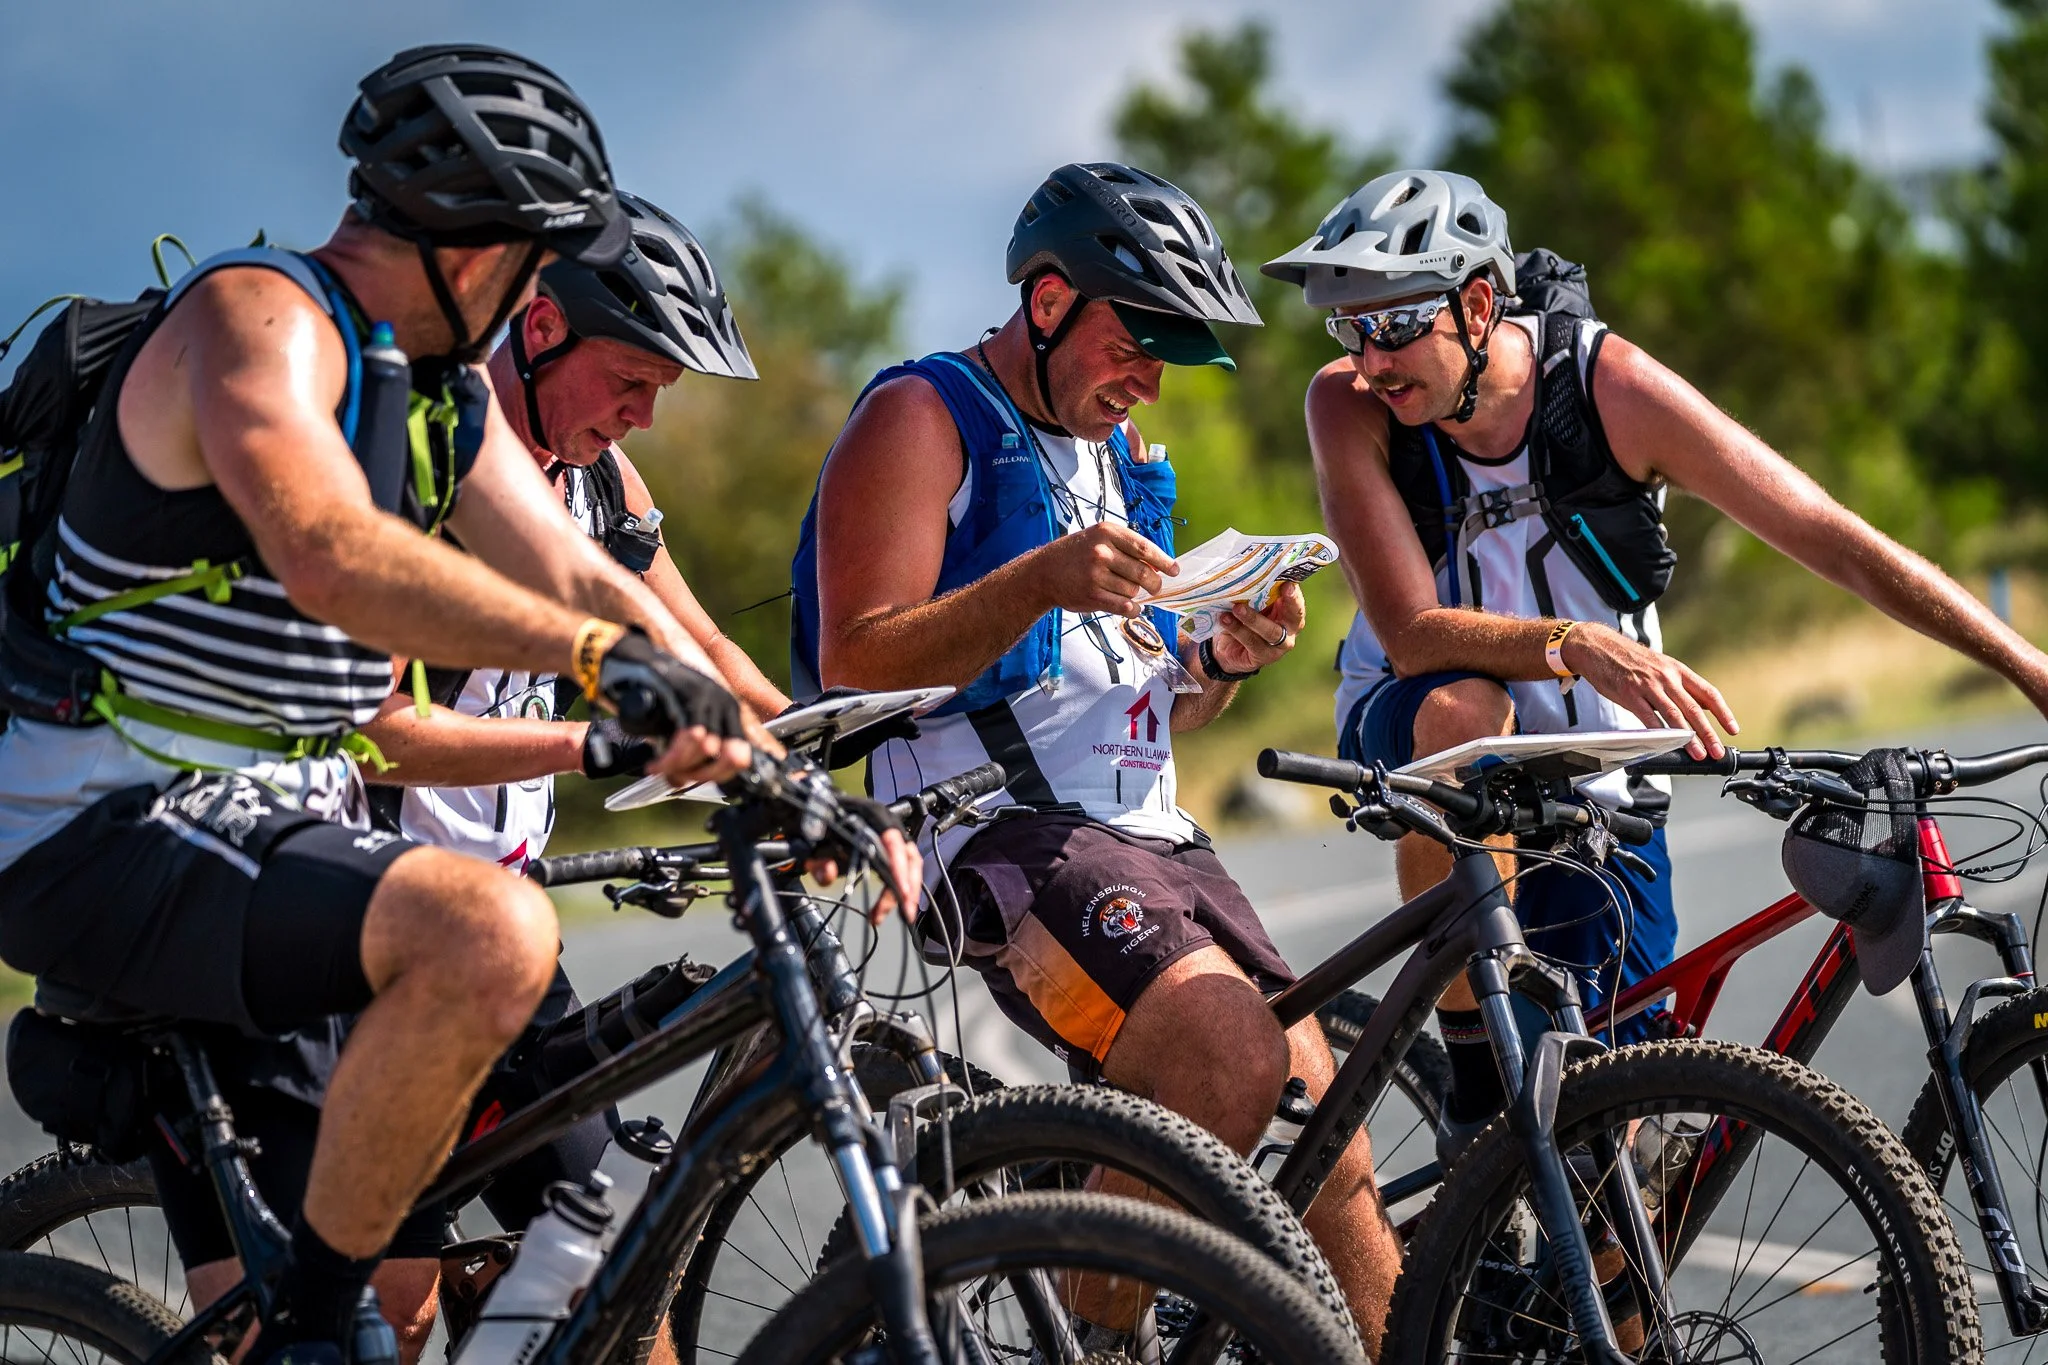
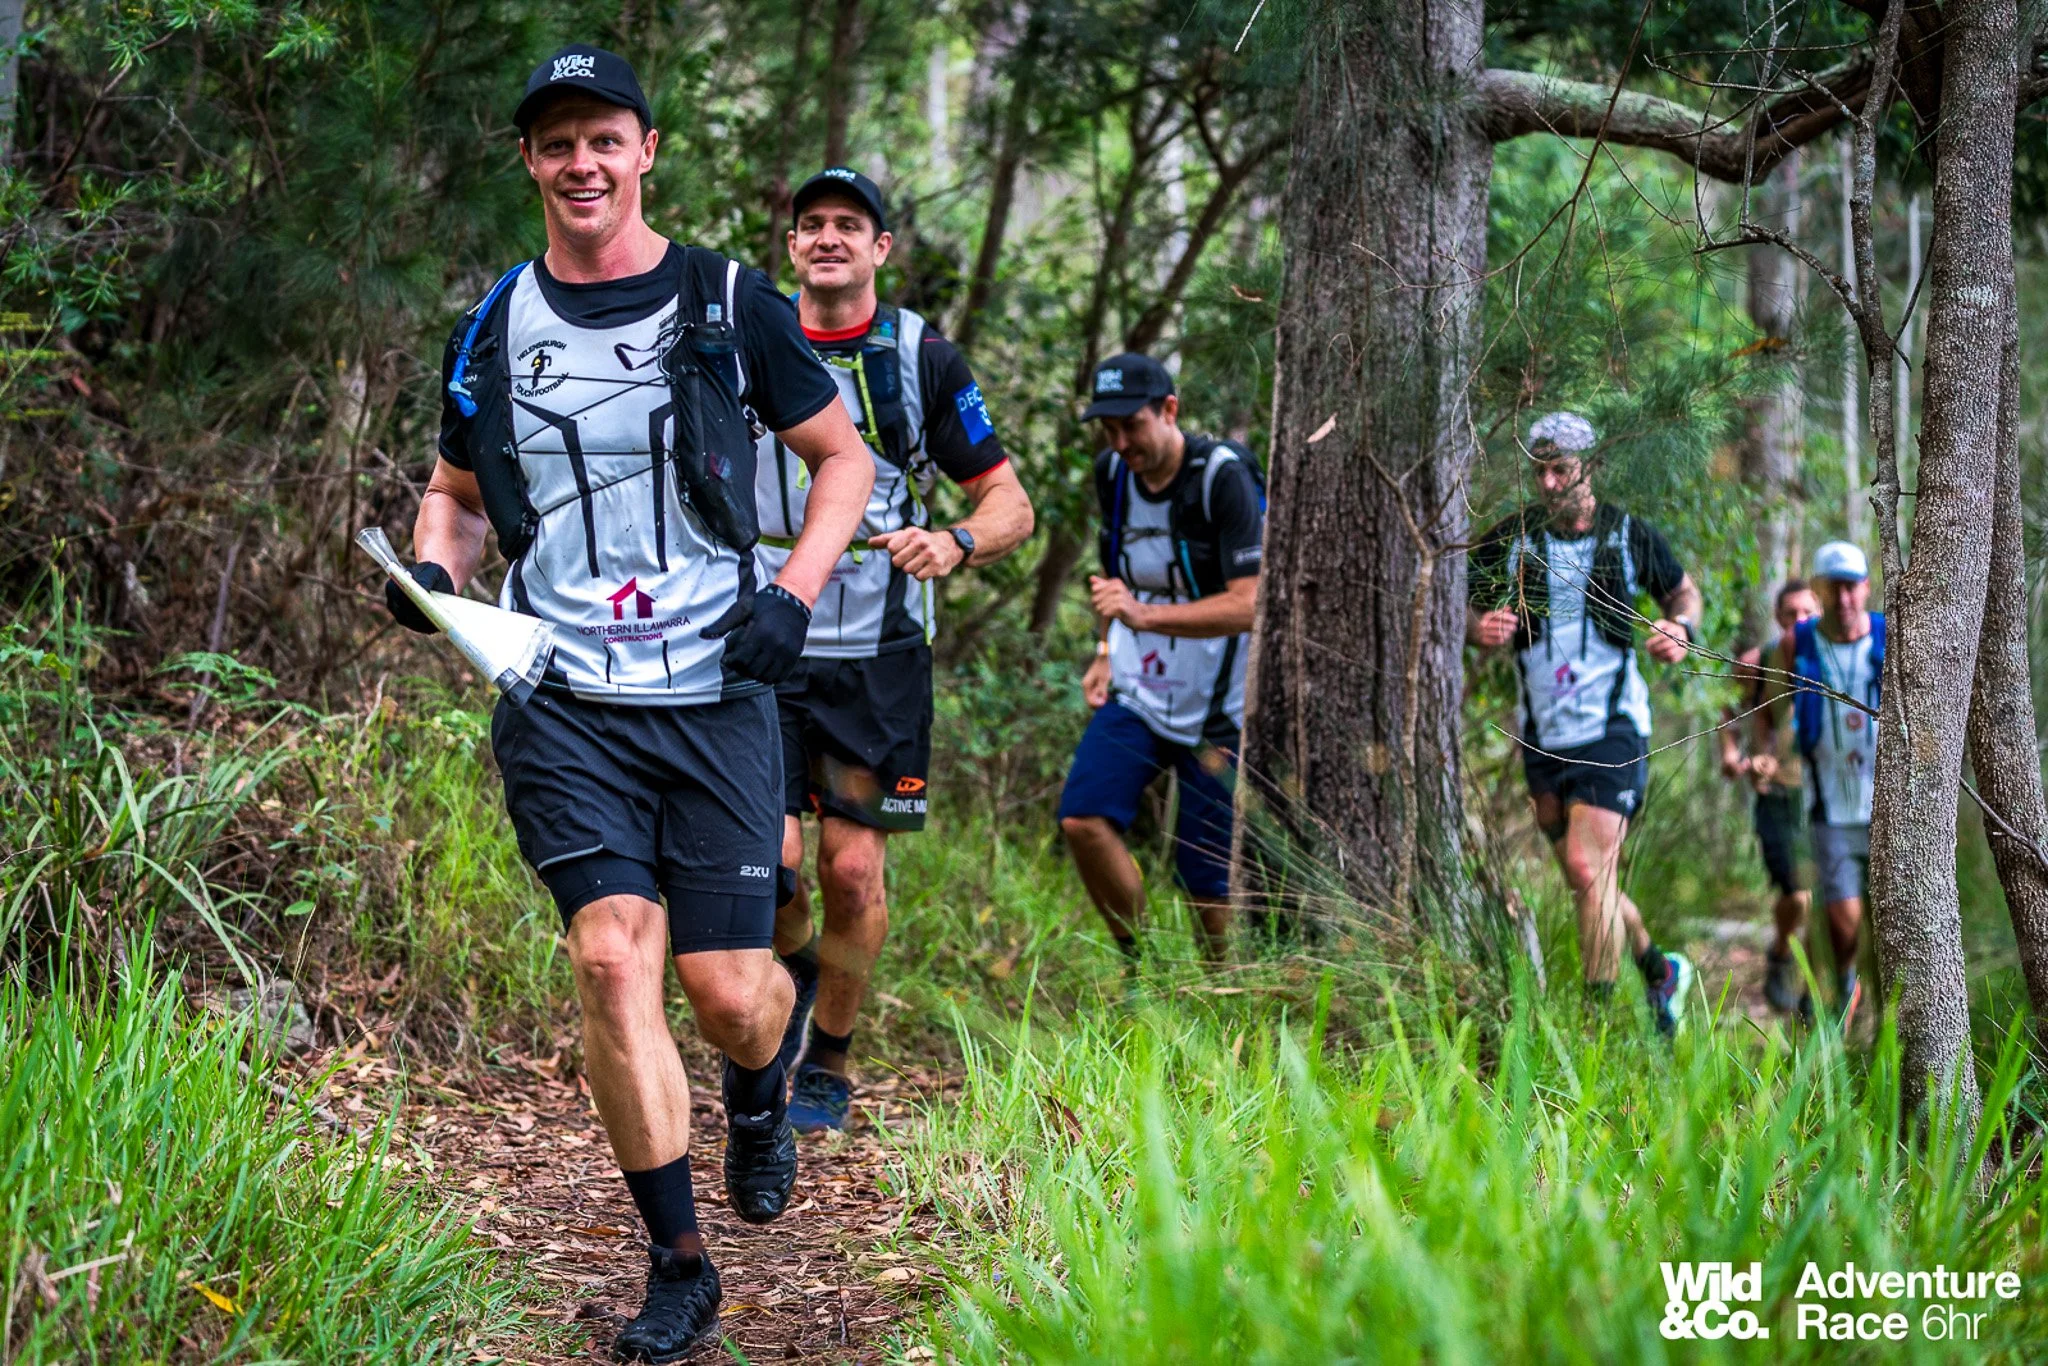
Adventure racing challenges not only your endurance but also your ability to think clearly under pressure. Strong navigation skills are what separate finishing teams from lost ones. This guide introduces the essential tools of map and compass, explains how to read the terrain, and shares proven strategies to keep you on course. Whether you’re a first-time racer or looking to sharpen your skills, these fundamentals will help you travel faster, make smarter route choices, and stay confident in the wilderness.
Compass Fundamentals
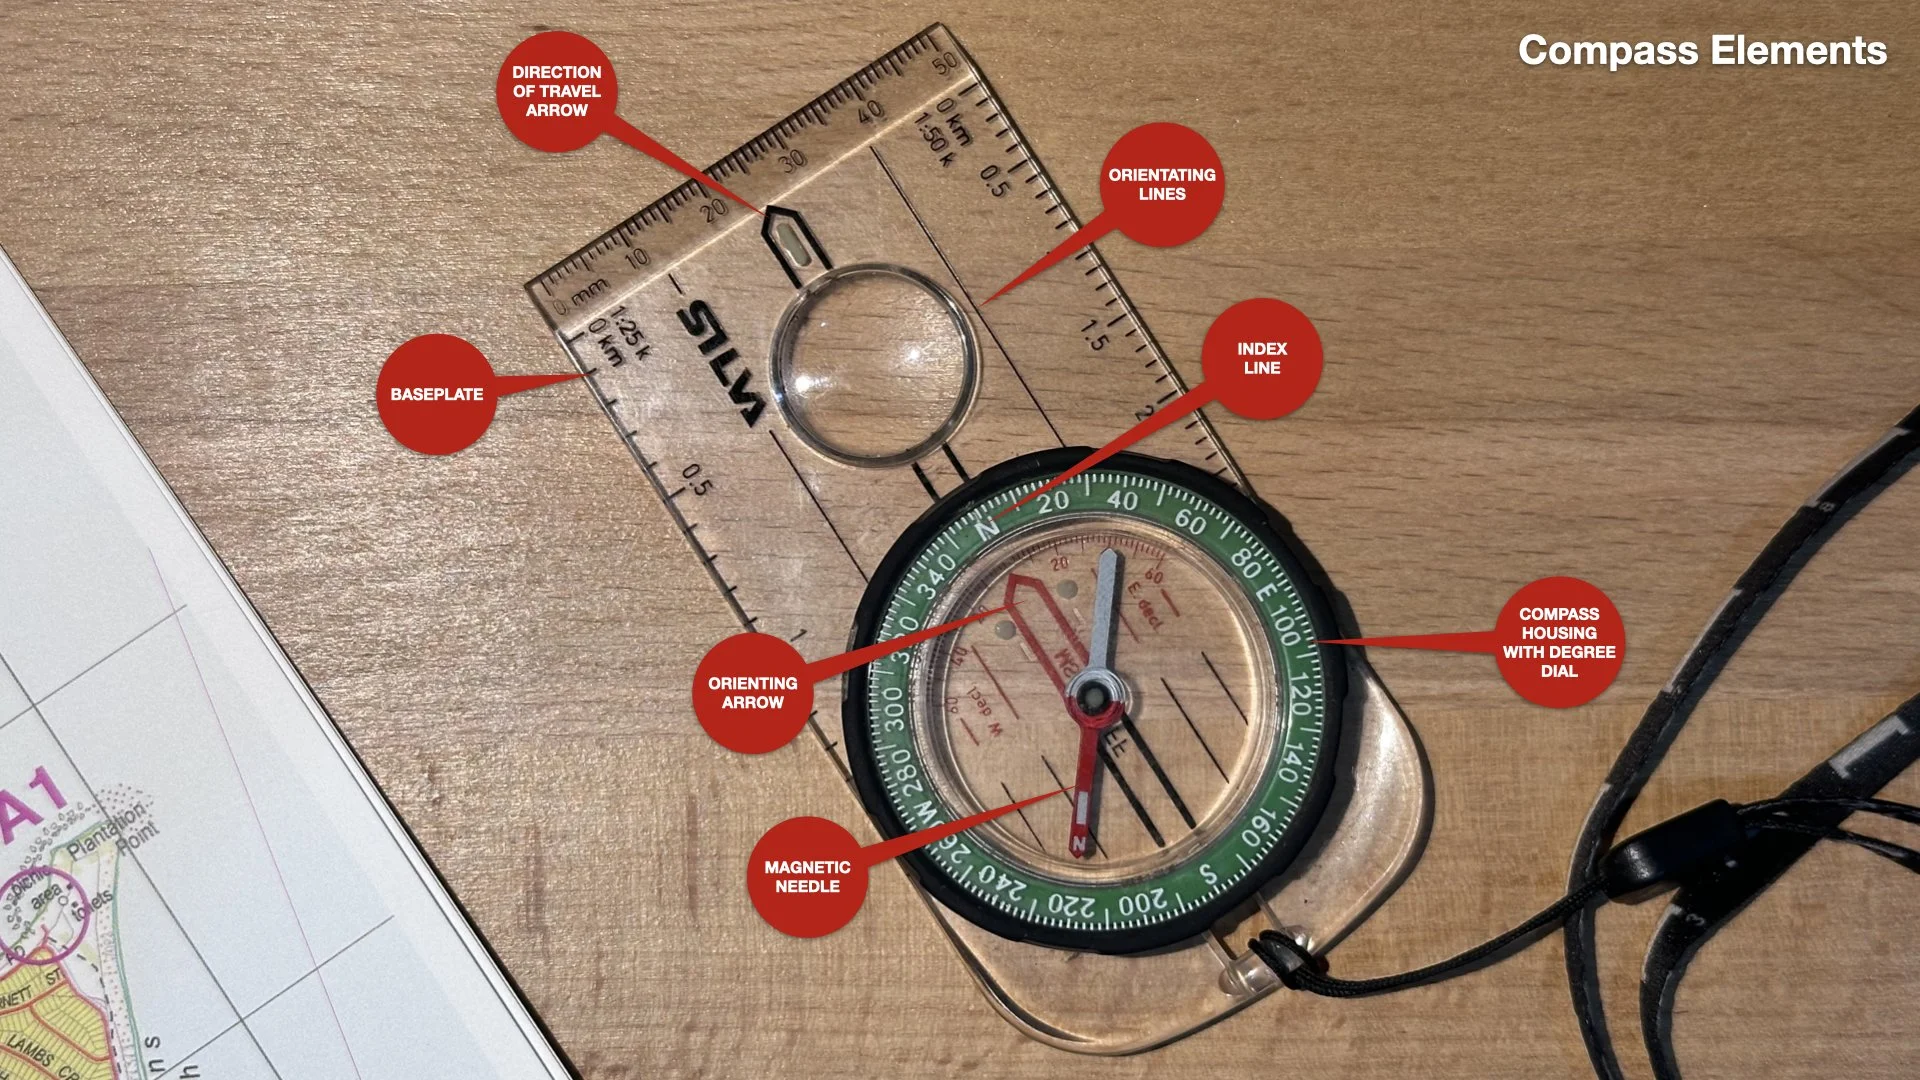
Key Parts of the Compass
Direction of Travel Arrow – the arrow on the baseplate you follow.
Compass Housing – the rotating dial with degree markings.
Magnetic Needle – the red end always points north.
Orienting Arrow – fixed in the housing; align the needle with this (“red in the shed”).
Using the Compass
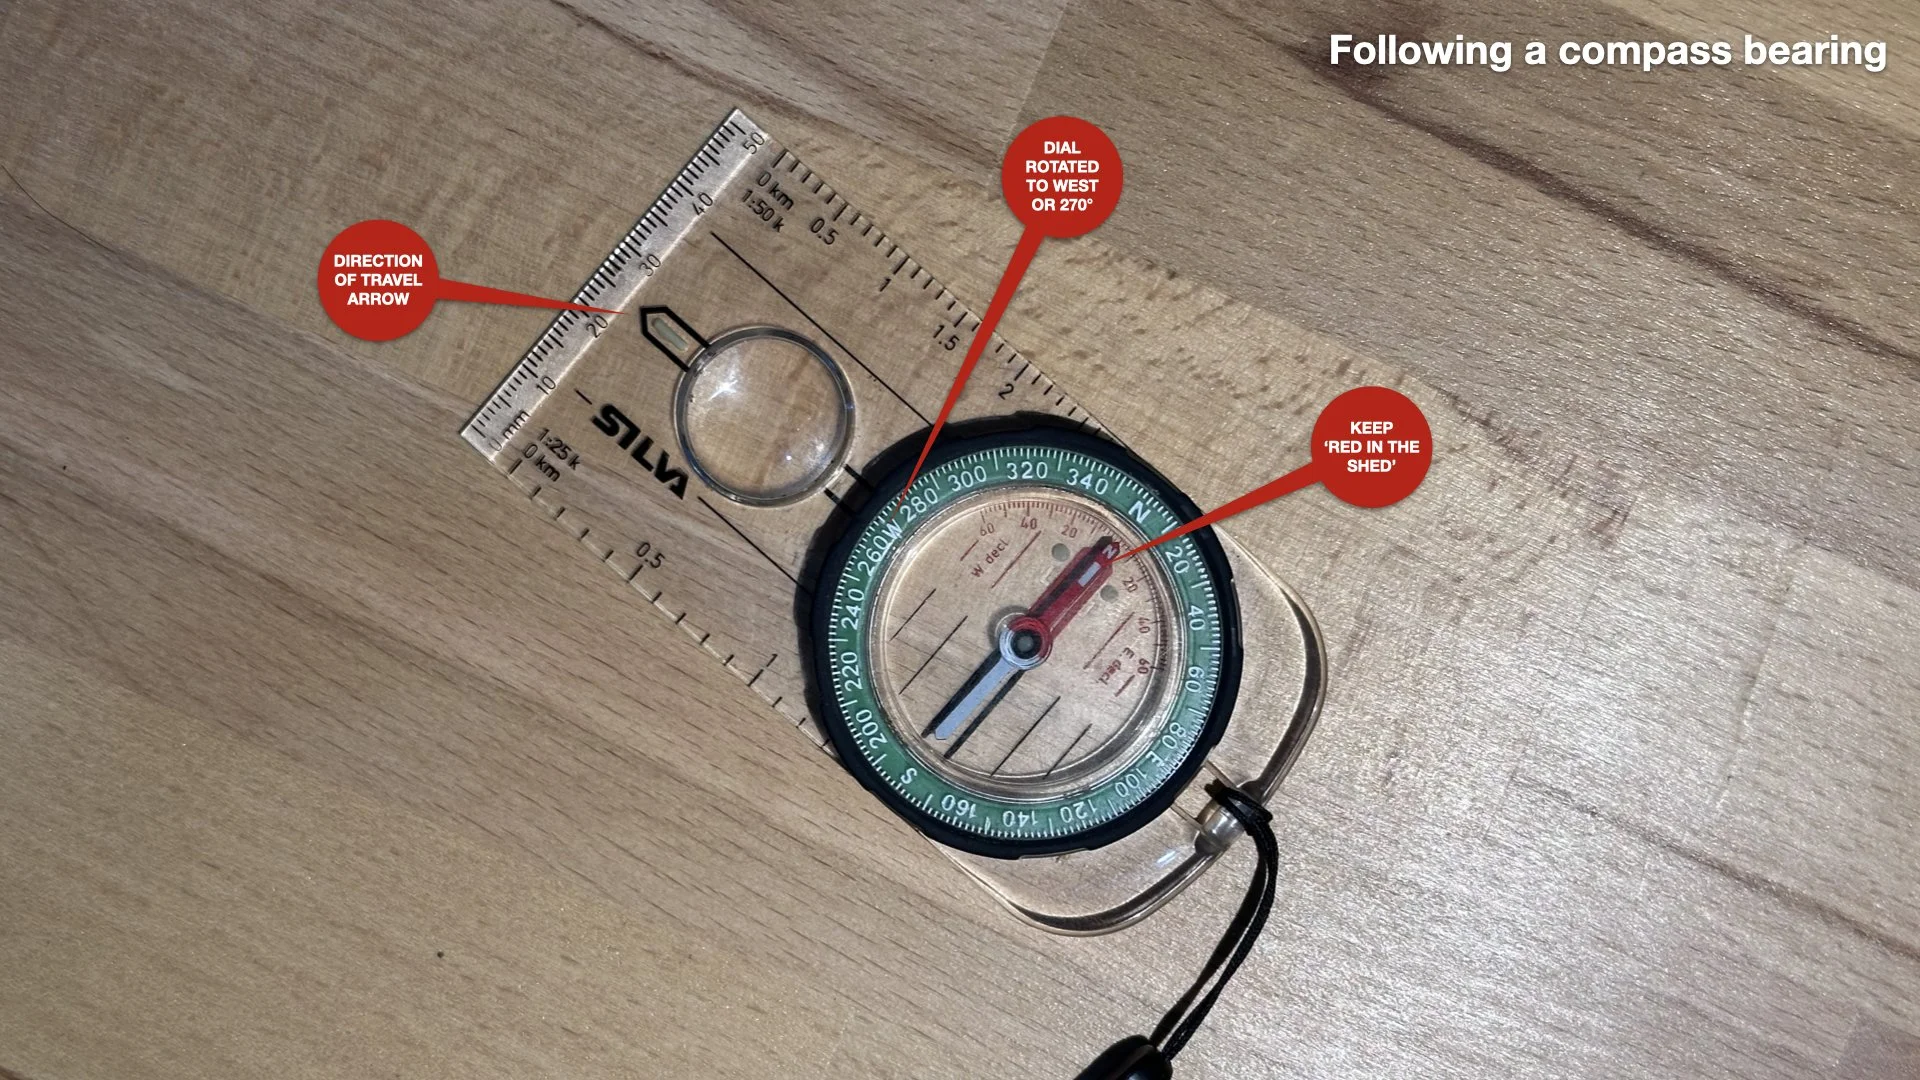
Set a Bearing – Rotate the housing to the degree you want (e.g., west = 270°).
Follow the Arrow – Walk in the direction of travel, keeping the needle aligned with the orienting arrow.
Check Your Direction – Point the compass ahead and rotate the housing until the needle aligns. The degree marking is your current facing.
Map + Compass Navigation
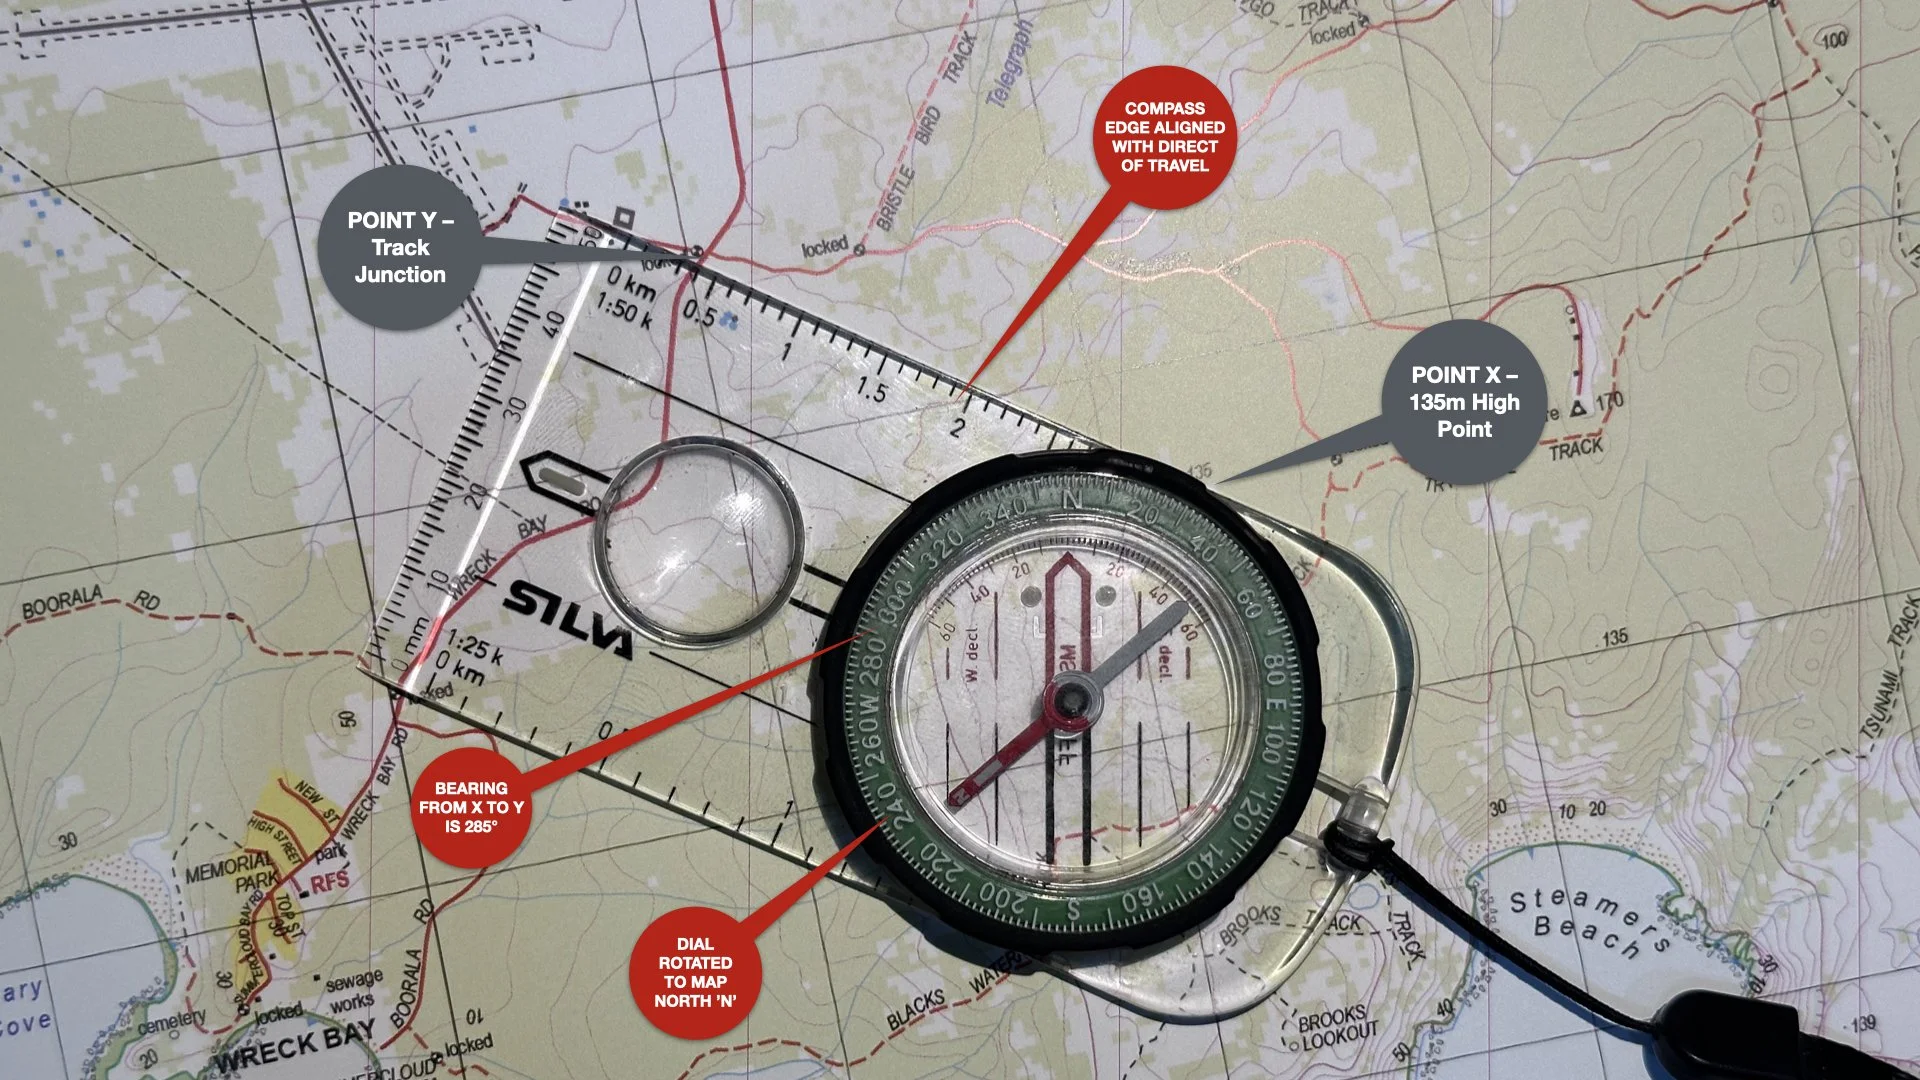
Finding a Bearing (Point X → Y)
Place the edge of the compass between your start (X) and destination (Y).
Rotate the housing so compass north matches map north.
Read the bearing from the dial.
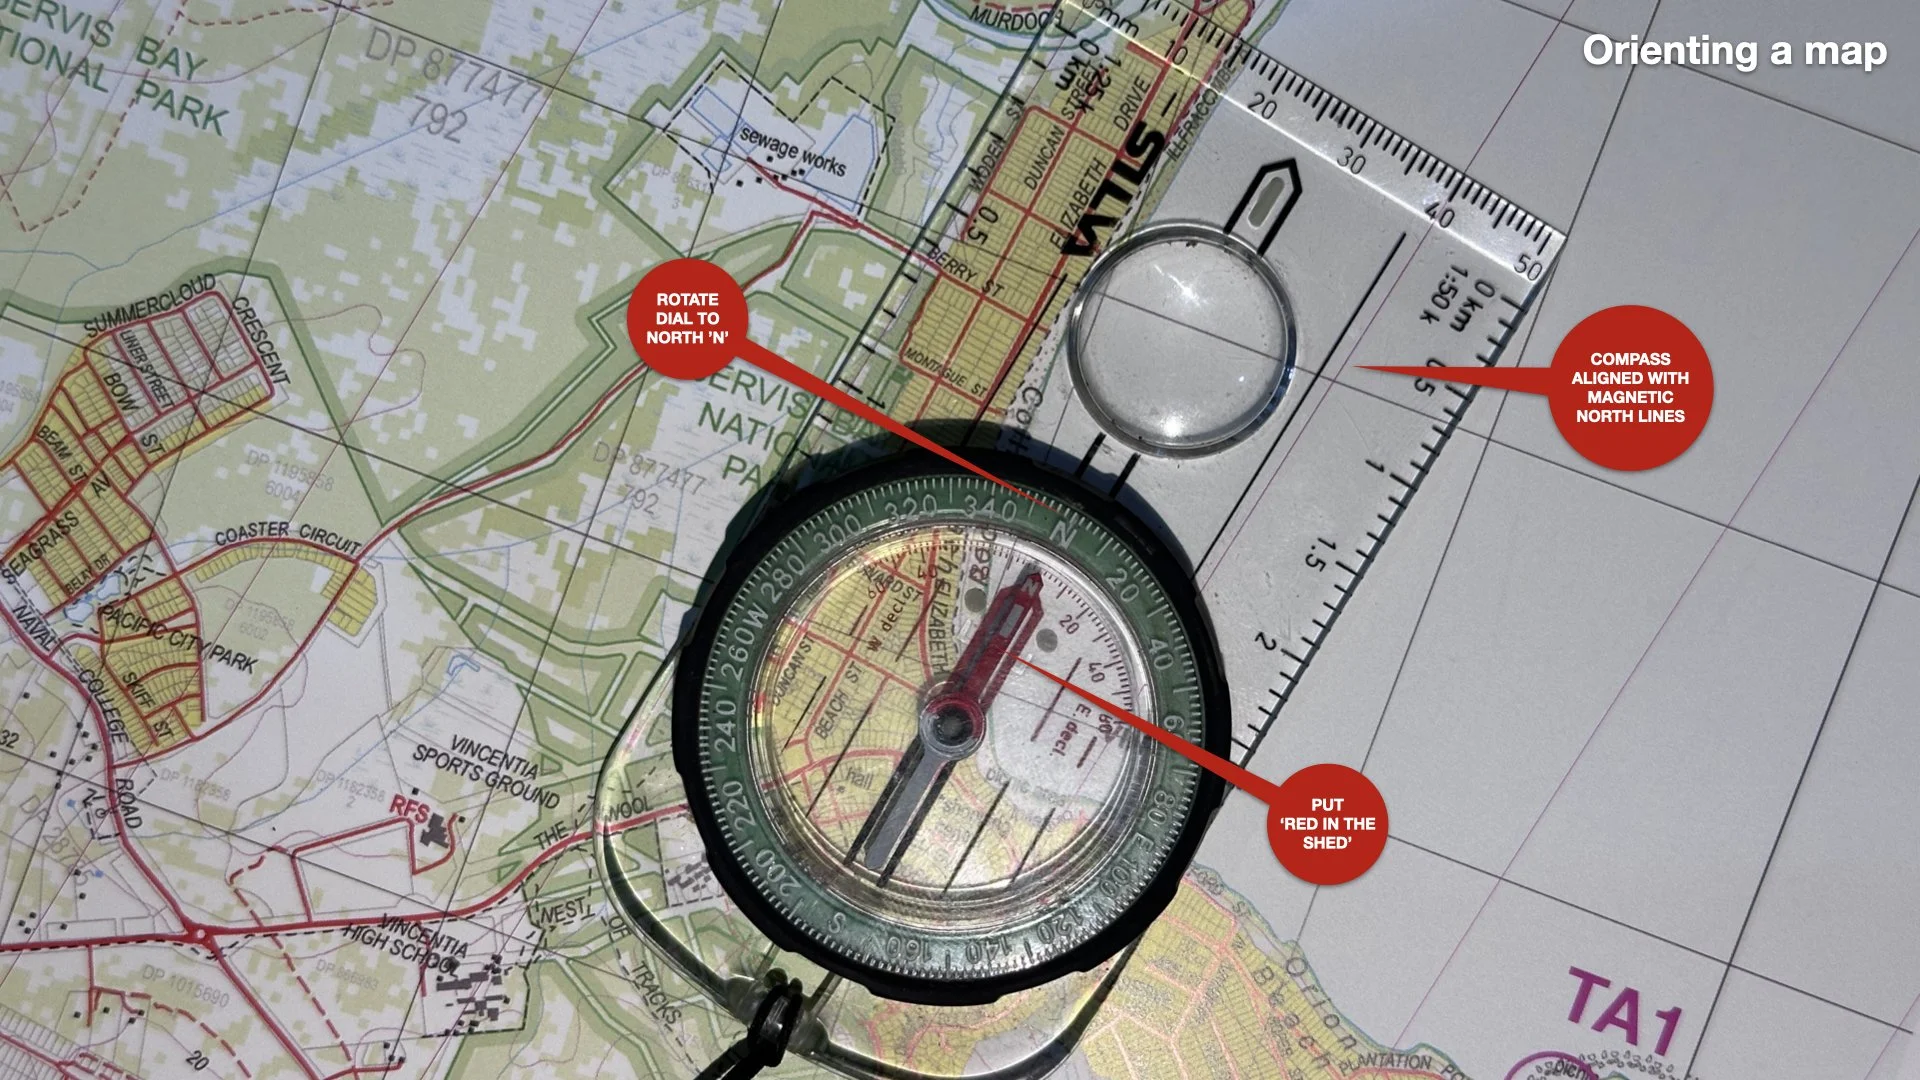
Orienting the Map
Rotate both map and compass until the needle points north.
“Red in the shed” means your map is aligned with the terrain.
Traveling on a Bearing
Follow the travel arrow (not the needle).
Keep the needle aligned with the orienting arrow.
Use distant objects (trees, ridges) to move consistently instead of staring down at the compass.
Common Navigation Mistakes
Orienteering only works if you know your current position (X).
Don’t confuse direction: point the arrow from X to Y, not the other way around.
Always match compass north with map north.
Estimate distance:
On a 1:24,000 map → 1 cm = 240 m
On a 1:10,000 map → 1 cm = 100 m
Use pace counting or time measurements to track distance in different terrain.
Reading Terrain & Topographic Maps
Map Colors
Green – woods, brush
Blue – water
White – open/light vegetation
Pink or Brown – contour lines
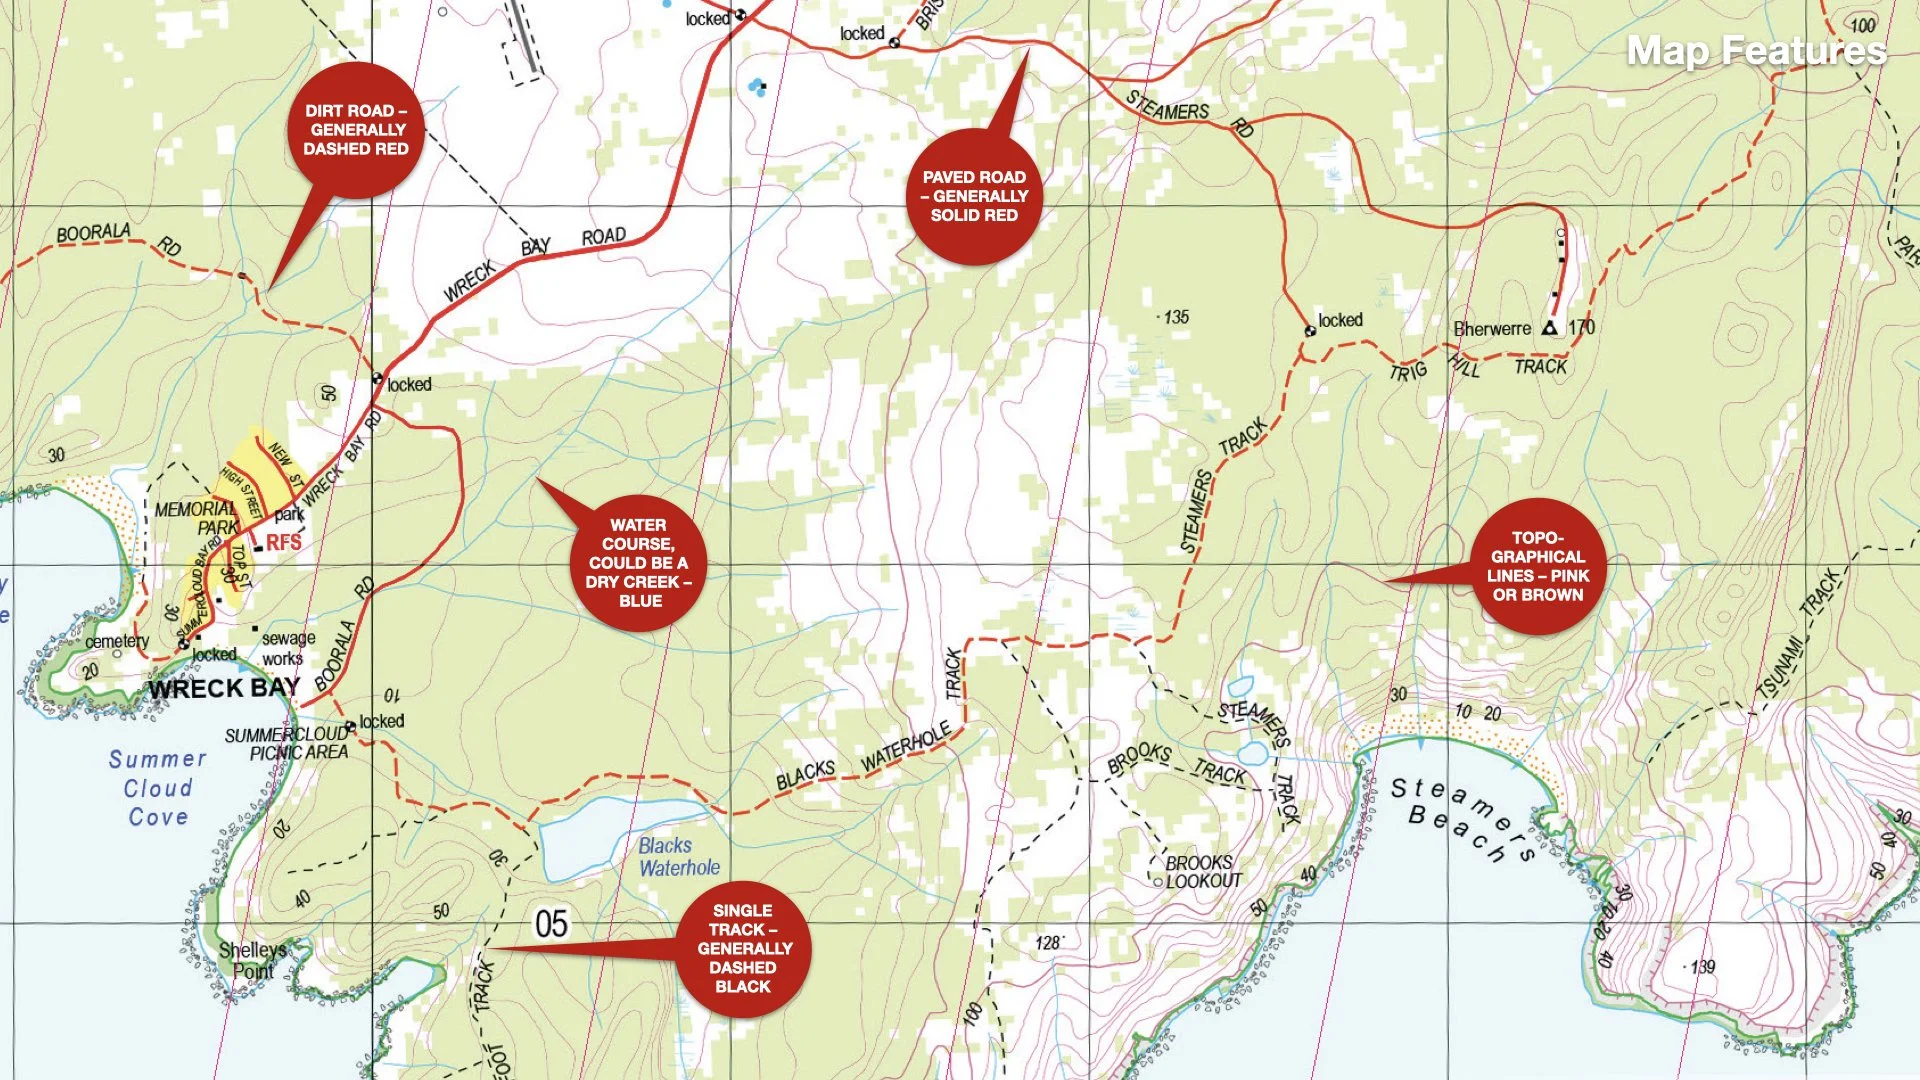
Red or Gray – roads, tracks
Yellow – urban features
💡 Tip: Water flows downhill — look for low points and drainage.
Contour Features
Steep slopes – lines close together
Gentle slopes – lines spaced further apart
Hilltops / Knolls – concentric circles
Depressions – circles with inward tick marks
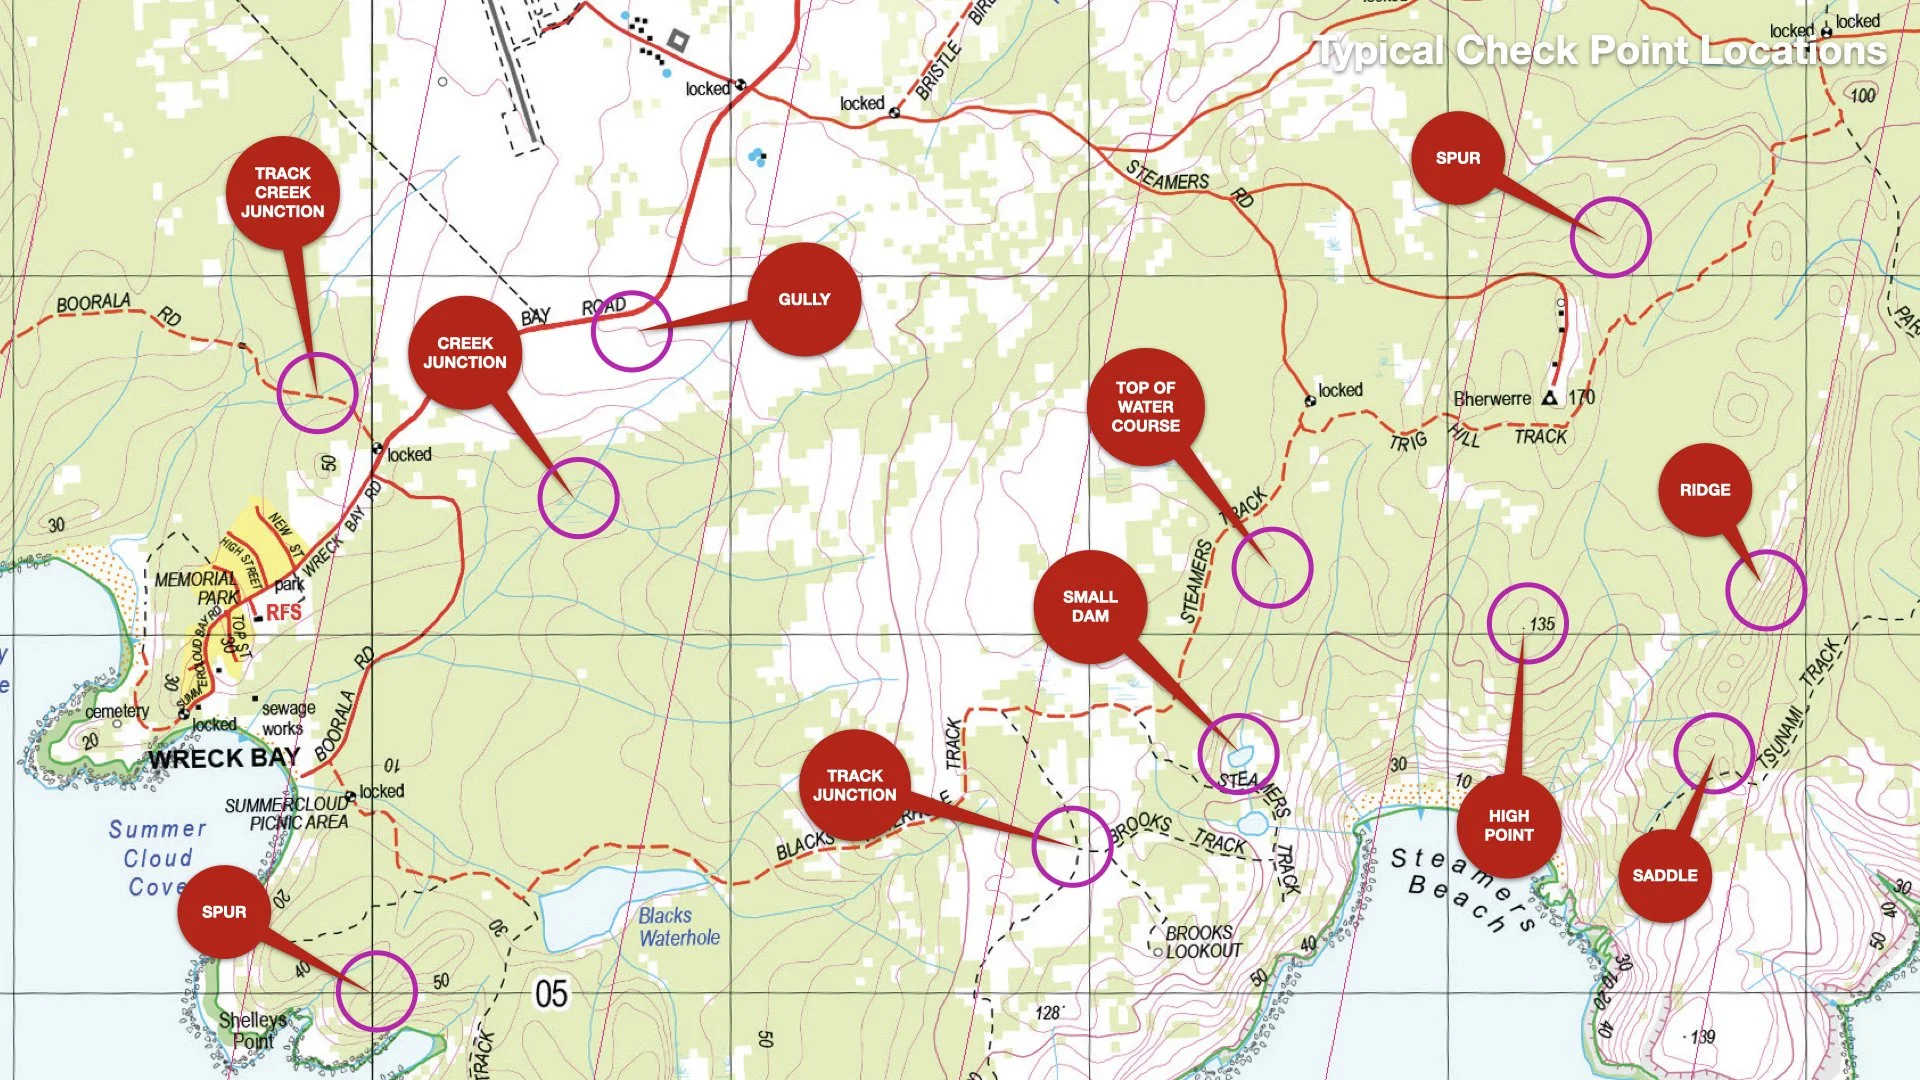
Spurs – U-shaped ridges jutting out
Reentrants (Gullies) – V-shaped indentations
Saddles – low ground between two peaks
Ridges – long lines sloping downhill
Navigation Strategy
Using Trails
Is the trail shown on the map?
Does it lead closer to your goal—or away from it?
Off-trail may be shorter but slower; trails may be longer but faster.
Look for “attack points” like intersections or bends.
In winter, check which trails are visible or groomed.
Using Terrain
Sure vs. risky: Wrapping around terrain may be slower but safer than going over it.
Avoid brutal areas (swamps, reentrants).
Use “handrails” like creeks, ridges, or spines.
Pay close attention to contour lines.
Consider energy: climb early while fresh.
Measuring Distance
Pre-race: use map wheel or ruler.
During race: pace count, stopwatch, feature counting.
Advanced Strategies
Attack Points
A clear, recognizable feature near your goal.
Travel confidently to the attack point, then take a precise bearing to your destination.
Handrails
Easy linear features to follow (trails, streams, fences, ridges).
Less concentration than a bearing.
Aiming Off
Deliberately aim slightly left/right of a feature so you know which way to turn when you arrive.
Visualization & Collecting Features
Picture features ahead of time (“there should be a gully on the right, then a marsh on the left”).
Break long routes into shorter legs.
Catching Features
Distinct features just beyond your control point.
If you reach them, you’ve overshot — turn back.
Relocation (When You’re Lost)
Stop immediately.
Orient the map with compass.
Compare surroundings with map features.
Retrace mentally with teammates.
Move to a clear, mappable feature (ridge, water, trail).
Once relocated, don’t rush blindly—reset your plan.
End Game Strategy
Always design your route with the finish in mind.
Place controls in loops that lead back toward the end.
Know how much time is left and adjust—skip far CPs if needed.
Training & Practice
Build Your Skills
Study past races and online tips.
Use topo maps or GPS apps for off-trail practice.
Set up practice courses with teammates.
Race Day
Test your pace counting and terrain reading.
Stay calm, relocate early if lost.
Use your compass, but trust the terrain.